Get Started with HopBox
Prerequisites
Section titled “Prerequisites”Before you begin, make sure you have:
- A HopBox device (or a compatible OpenWRT router flashed with HopBox firmware)
- A HopBox Cloud account at dashboard.hopbox.in
- A stable internet connection
-
Connect your HopBox device
Section titled “Connect your HopBox device”Plug in your HopBox to power and connect the WAN port to your internet source (e.g., modem or upstream router). Then, connect your computer to the LAN port or the Wi-Fi network broadcast by HopBox.
Once connected, open your browser and navigate to:
http://hopbox.localYou should see the local HopBox dashboard.
Directory/ (local HopBox web interface)
- Dashboard – overview of interfaces and uptime
- Network – LAN/WAN/VLAN configuration
- Firewall – zone management and rules
- VPN – WireGuard / OpenVPN client and server setup
- SD-WAN – connection to HopBox Cloud
-
Link your device to the HopBox Cloud
Section titled “Link your device to the HopBox Cloud”Log in to your HopBox Cloud dashboard. Navigate to Devices → Add Device, and you’ll see a pairing token.
On the local dashboard, go to:
Settings → Cloud Integration → Link DeviceEnter your pairing token here. Once linked, the device will appear under your cloud account with real-time metrics and remote access enabled.
-
Configure your first SD-WAN policy
Section titled “Configure your first SD-WAN policy”HopBox automatically detects your interfaces and WAN uplinks. To optimize your network:
- Go to SD-WAN → Policies on the cloud dashboard.
- Add a new policy to route specific applications or subnets through your VPN, direct WAN, or failover path.
Example policy:
Sample SD-WAN policy {"name": "VoIP Priority","match": ["udp/5060-5061", "udp/10000-20000"],"action": "prefer-wan1","fallback": "wan2"} -
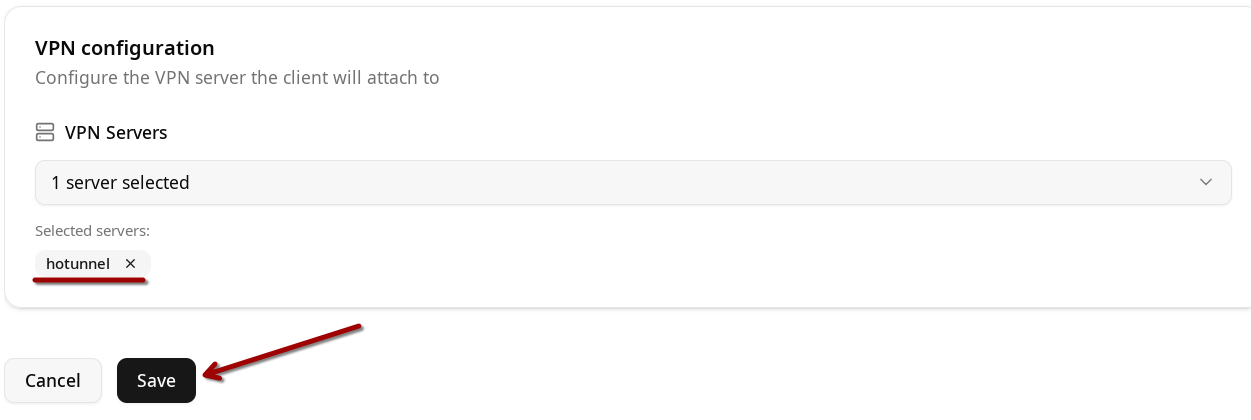
Setup VPN connections (optional)
Section titled “Setup VPN connections (optional)”HopBox supports WireGuard, OpenVPN, and IPsec connections.
- Create a VPN profile under VPN → Clients
- Import your configuration file (
.conf,.ovpn, or.json) - Toggle “Enable” to activate
You can manage certificates and tunnels from both local and cloud dashboards.
Example WireGuard client config:
/etc/config/network config interface 'wg0'option proto 'wireguard'option private_key '<private_key>'list addresses '10.0.0.2/24'config wireguard_wg0option public_key '<server_public_key>'option endpoint_host 'vpn.hopbox.net'option endpoint_port '51820'option persistent_keepalive '25' -
Monitor and manage remotely
Section titled “Monitor and manage remotely”Once your HopBox is paired, you can:
- View live bandwidth, device logs, and active tunnels
- Perform firmware updates remotely
- Use terminal access directly from the browser